If you are looking for a way to improve your lawn this summer quickly, a sod installation may be the perfect solution! Sod is already planted grass available in rolls, giving you a perfectly lush lawn without the risk of patchy or bare areas. However, laying down sod can be tricky, so make sure to follow these do’s and don’ts to make sure you have a successful installation.

What You Should Do During Sod Installation
Before you pick up sod, make sure you have measured the area you will be laying it down so the grass can be placed evenly. Prepare the soil before the sod arrives to ensure a chance to develop roots. Till the soil and press, it evenly to allow for an even surface, and irrigate the area before the sod arrives. Two weeks before your installation, apply weed-eliminating products in the soil. Apply any fertilizer immediately before the sod. During installation, make sure the rolls are laid down in a straight line with the edges pressed together. The pieces of sod should not overlap or have any spaces left between them. Use a knife or shovel to make sure the corners fit in evenly. After the installation, ensure the entire lawn is watered, and water the sod thrice daily for the next week and a half.
What Not To Do During Sod Installation
Avoid using your sod lawn for at least three weeks to allow the roots to establish. Accessing the yard too early may cause the sod to buckle and become uneven. Don’t let your new grass dry out before the roots form; make sure to water the grass for fifteen minutes each day. Keep the area moist without letting the water pool or overpower the grass. Don’t mow your lawn for the first ten days, and when you do, make sure the mower is set to leave at least two-thirds of the blade. Avoid raking until the grass takes hold.
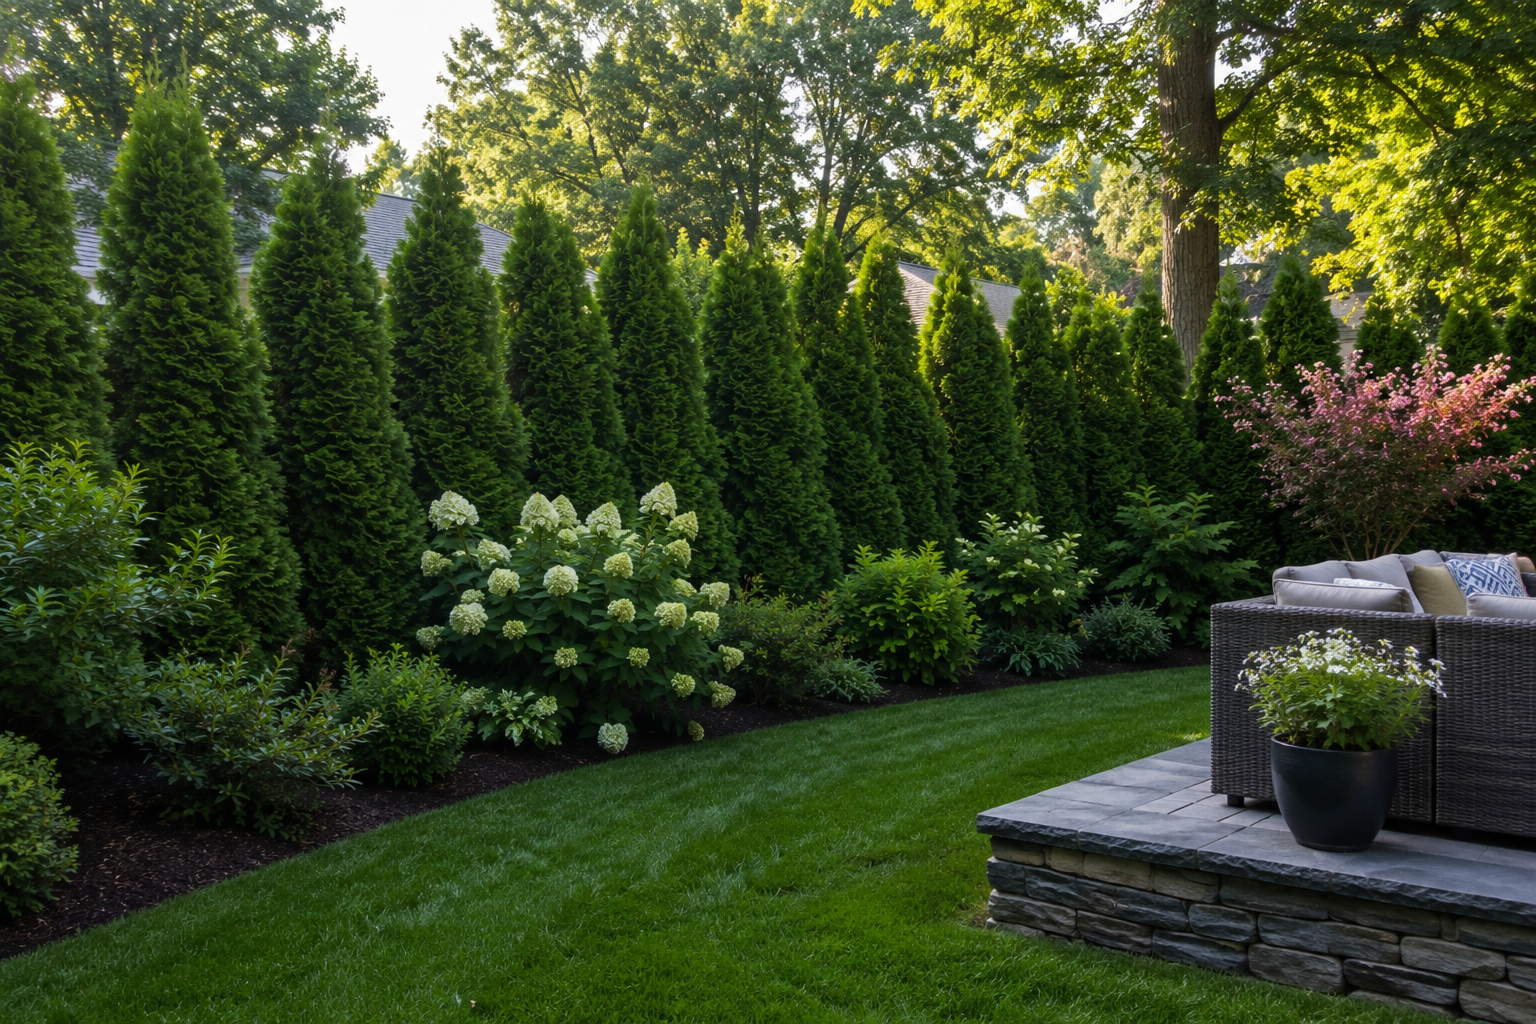
Lawn Seeding & Sodding in Marblehead & Swampscott MA
If you are in need of a sod installation, contact us today! Lassana’s Landscaping can be reached by calling 781-631-1938 or filling out our online contact form.